
It’s extremely helpful to have a toolbox filled with different groundwork exercises that can be used to build communication and confidence in your horse. Whether he needs to expend some energy at a new barn or build muscle and increase focus after a break, these three groundwork exercises are handy maneuvers to practice.
As a rider, you’ll want to offer your horse clear, consistent communication in every exercise.
Exercise 1: Desensitizing to Rope and Flag
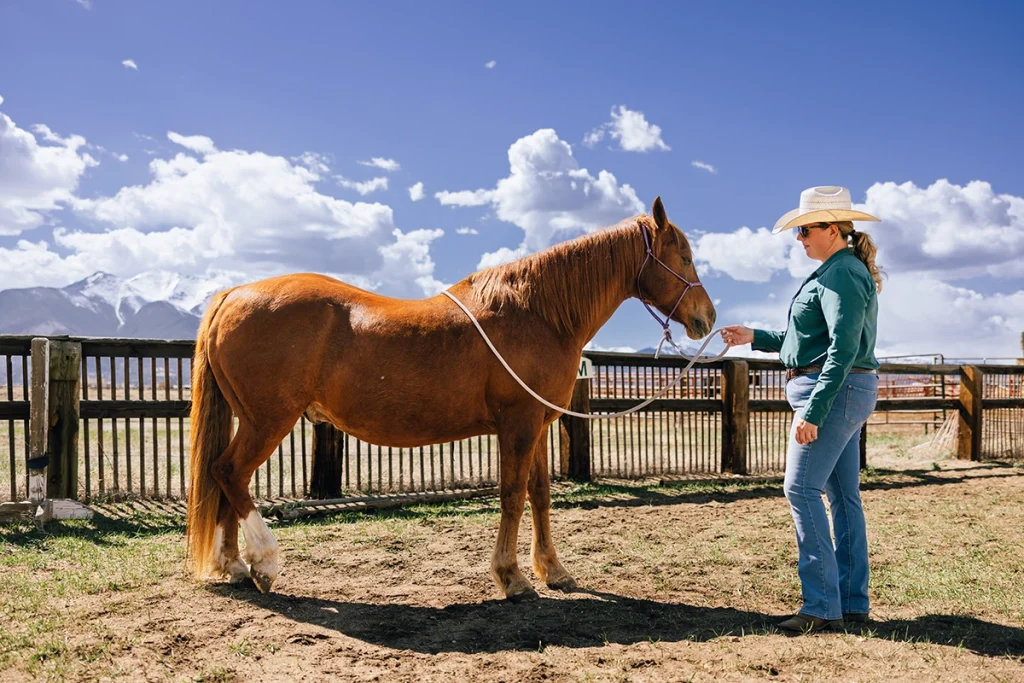
This exercise is often found in a horse’s “elementary education” and used to expose him to movement, sound, and sensation close to his body. This set of maneuvers is a major part of desensitizing a horse to new or strange objects.
Start with your horse in a rope halter and lead rope, standing 4 to 6 feet away from his left shoulder. Hold the tail end of your rope in your right hand, with your left hand on the rope, 3 to 4 feet away from your horse’s chin. Begin swinging the rope in a clockwise circle off to your right side. The rope should not be touching your horse or swinging fast enough to make a sound. It’s simply gently moving in a circle through the air.
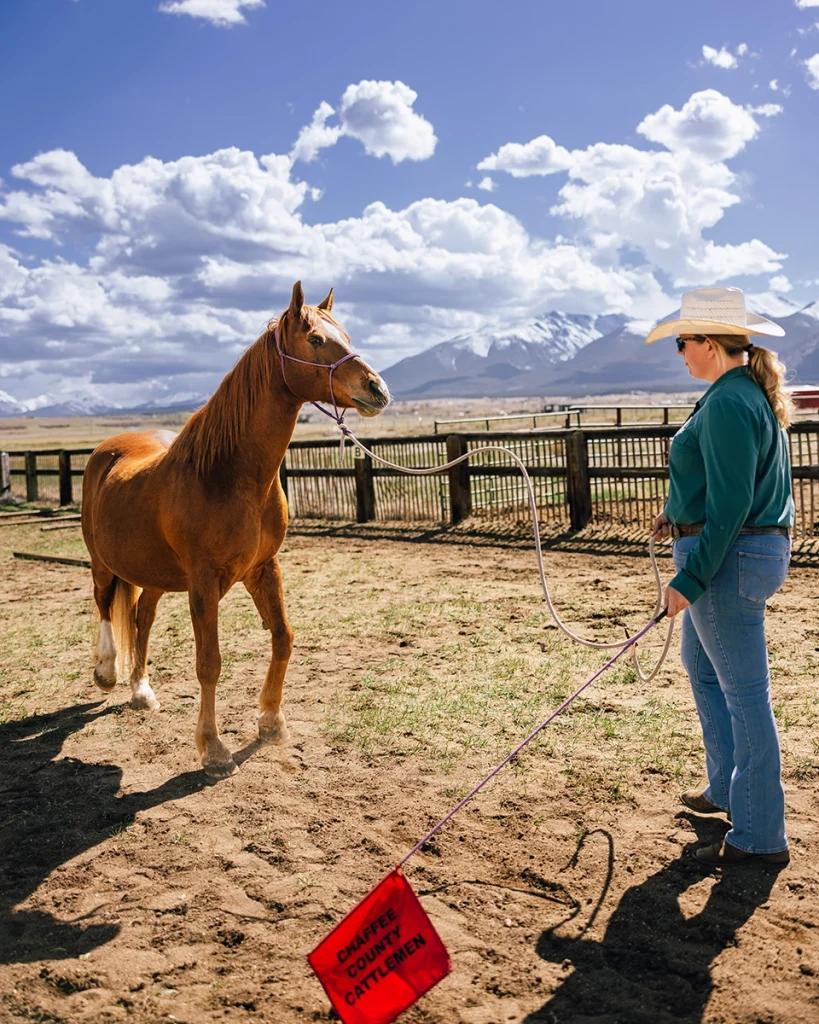
Your horse may react in a number of ways. If he moves his feet, raises his head, snorts, or otherwise reacts, keep swinging the rope but do not move it closer to his body. The key idea is to allow your horse to become used to the movement around his space, but without letting the object invade his space. You are looking for two key things before you stop swinging the rope: First, your horse should not be moving his feet, and secondly, your horse should exhibit one of the six signs of relaxation/thinking:
1. Licking and chewing
2. Softly blinking his eyes
3. Yawning
4. Cocking a hind foot
5. Taking a deep sigh/breath
6. Lowering his head/neck
Once he exhibits one (or multiple) of these signs, stop swinging the rope and pause for a moment to allow your horse to process. Think of desensitizing exercises like stretching a rubber band. You want to stretch the rubber band of their comfort zone enough to elicit learning, but not so much that the rubber band snaps, sending him into a fight/flight/freeze moment. Repeat this process with the rope in the same position off to the other side of your body.
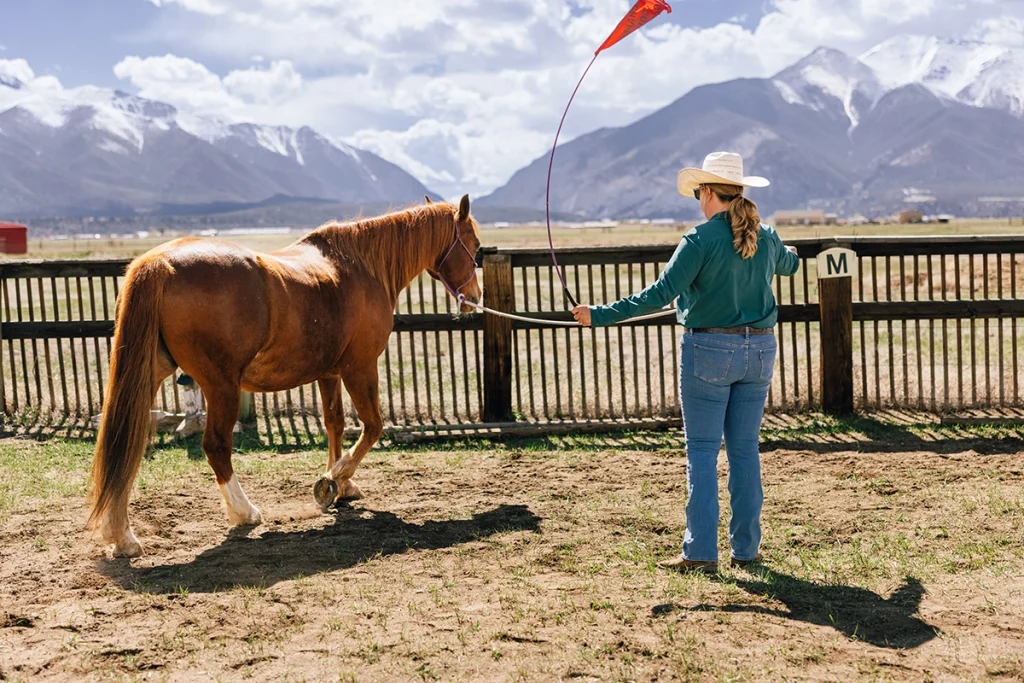
After a few repetitions of swinging the rope and waiting for a sign of relaxation, begin swinging the rope again, but this time closer to your horse’s body. You will progressively move the rope closer to your horse’s body, allowing for relaxation and processing between repetitions. Ultimately, you will be able to swing your rope close to your horse’s body, head, legs, et cetera while he remains standing still and unbothered by the stimulus. You want to make sure you desensitize both sides of your horse’s body but remain on one side, building confidence through repetitions before swapping to the other side.
This process can also be done with a training flag. One benefit of using a training flag versus a rope is that the flag can make more sounds than a rope. The stiffness of the flag handle can also be helpful if your horse tends to move around quite a bit before settling into one space. If using a flag, use an up-and-down motion instead of a clockwise swinging motion.
Once the horse accepts the movement of the rope and flag, this exercise can be adapted to be used with objects like plastic bags, longe whips, feed sacks, et cetera. If you’re having trouble with swinging accuracy, practice swinging your rope at a rock or plant on the ground to build success in hitting the same spot multiple times in a row.
Exercise 2: Circling Lesson
This exercise is inspired by ones such as Brandi Lyons’ “WESN lesson” and Ty Evans’ halter driving exercises. The circling lesson differs from longeing in that the goal is not just physical exertion, but instead mental stimulation and “checking in” with your horse’s brain. The goal of this exercise is to capture the horse’s movement in all directions—forward, backward, left, and right—at all speeds. You should focus first on completing this exercise at the walk and trot before advancing to the canter.
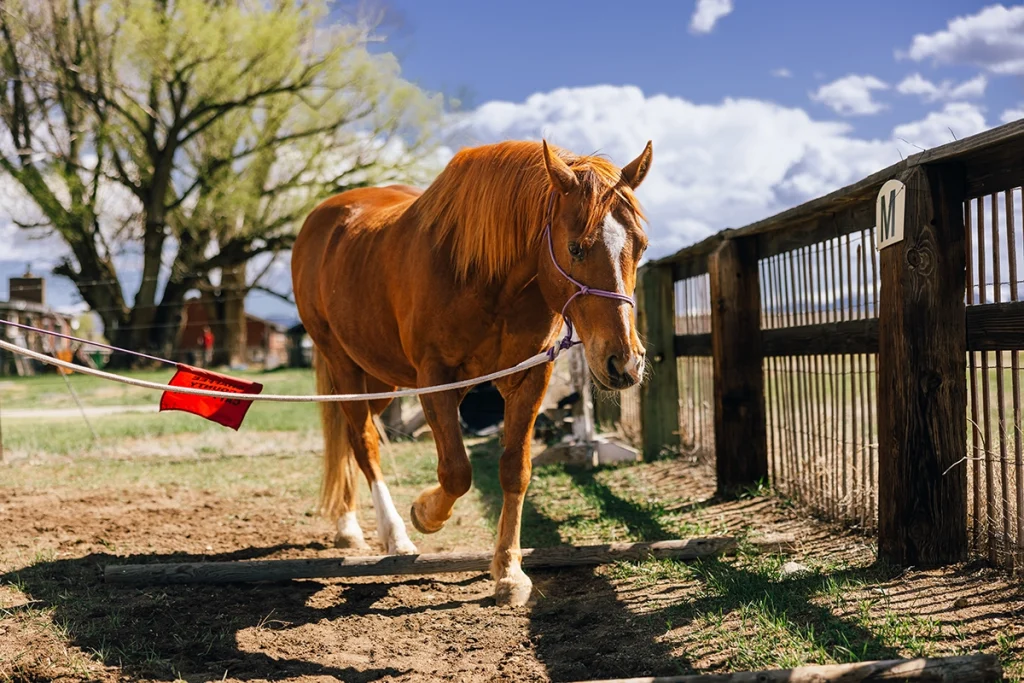
Start with your horse in a halter and lead rope. Your “sending” arm will be closest to your horse’s chin, and your “impulsion” arm will be holding the tail of the rope. The first step is to send your horse in a circle around you to the left. Begin by opening your sending arm to the left, using the swinging end of your lead rope at your horse’s shoulder to “send” the shoulders away from you.
Should your horse stay put and not move his feet, increase the energy and speed of your swinging rope. Release the pressure when your horse moves in the correct direction. Once you can send your horse in a few complete circles around you, you’re ready for the second step.
The second step is to use your sending arm in a lifting motion toward the withers to encourage your horse to disengage his hind end and swing his hips away from you. You can use the swinging tail end of your rope to encourage your horse’s hips to move away from the pressure. Capturing your horse’s hindquarters on the ground leads to better control of his hips under saddle.
Once you can establish forward, centered circles without your horse diving into the center or leaning to the outside on your lead rope, start establishing control of his shoulders. With your horse facing you, imagine sending him across the front of your body, so he is reaching with his front leg across and to the outside. Ultimately, your horse should be able to cross his front legs, move his shoulders, and pivot on his hind leg to the outside. Picture your horse going from square to you to perpendicular to you.
Your swinging rope or a flag will be great tools to deliver specific, exact pressure to your horse’s body parts. For example, if he dives in during the circle, use pressure at his shoulder to send him further away from you and make a bigger diameter circle. A swinging rope at his hip will send his hip out and away. If your horse speeds up without being asked, yield his hindquarters and send him in the other direction.
Exercise 3: Sending Across Poles
Using your horse’s sending skills, you can now send him across, over, and through obstacles such as poles, bridges, tarps, et cetera. During this exercise, the horse is expected to pass over the obstacle without leaning in toward you or diving out away from the obstacle. The first two exercises must be solid before adding in obstacles.
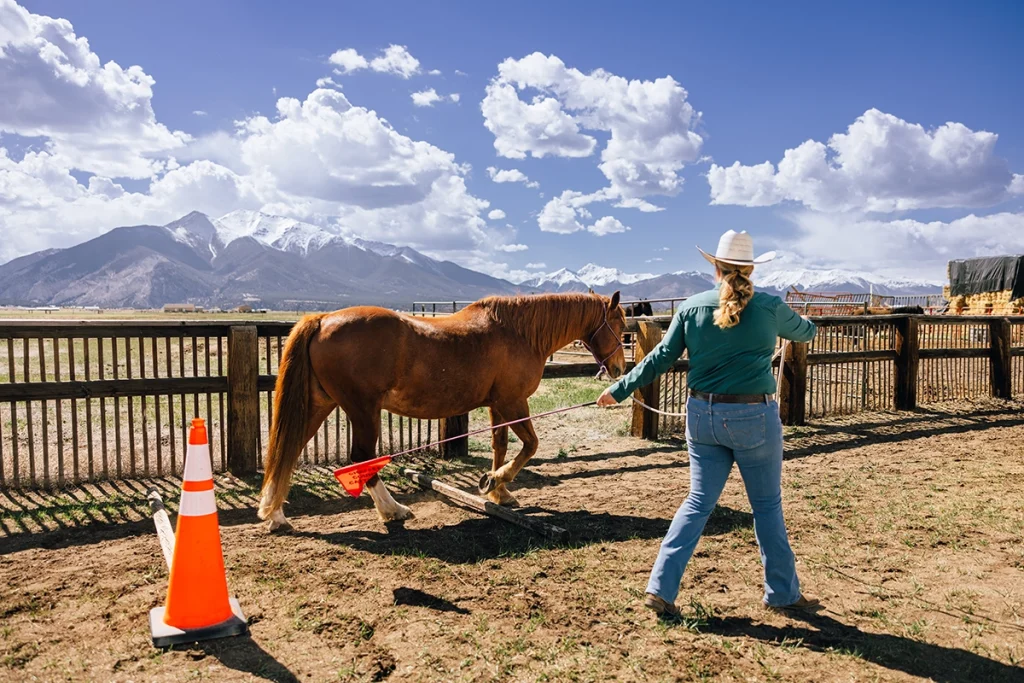
Position your horse next to a fence with a few ground poles perpendicular to the fence. A good rule of thumb is to space poles 2.5 to 3 feet apart for walk poles and 3 to 4 feet apart for trot poles. Send your horse across the poles, yielding his hindquarters away from you when he finishes the pole line. Send his shoulders across and move him back over the poles. Continue working left and right across the poles until it is a seamless, smooth transition from walking across the poles, moving his hindquarters, and clearing his shoulders. All of this should be done while the horse has a soft feel on the rope, without leaning or pulling against you.
If you encounter issues in this exercise, check in on your progress on the previous two exercises. Eliminate variables and simplify the exercise until your horse offers the desired response.
Fitting and Tying a Rope Halter and Lead Rope Correctly
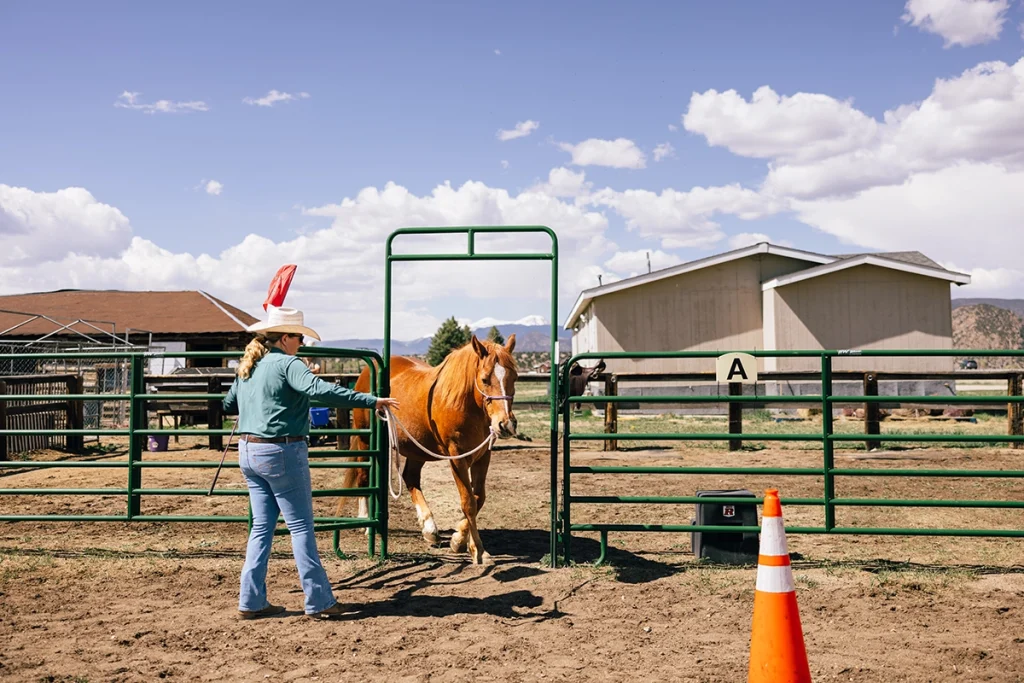
A properly fitting rope halter is key to ensuring clear, effective communication between you and your horse. Many store-bought halters are incorrectly sized and result in the noseband being too high/low, the crownpiece being too long/short, or other wrong measurements. A halter that is too big will lead to sloppy cues, whereas a too-small halter may cause rubs or sores.
Check to see if your horse’s noseband sits across the bony part of his nose, about one finger’s width below the point of cheekbone. The fiador knot under the chin should have a bit of a gap, but not so much so that you can fit multiple fingers between the jaw and the rope.
The throatlatch should fit relatively snugly under the cheekbones. If the crownpiece is too long, it can be cut and re-tied or tucked underneath the throatlatch.
Finally, the knot needs to be tied correctly to secure the rope halter. The knot should be tied “around the keyhole,” not above. This allows the halter to be untied, even if the horse pulls back.
This article about groundwork exercises appeared in the October 2025 issue of Western Life Today magazine. Click here to subscribe!